In this tutorial, I will going to show you “how to install and configure Tailwind CSS in VS code”.
First you need to install, Node JS & npm on your computer.
Open VS editor.
Step 1: Open your project folder in VS code Terminal and type the following code to create a package.json file.
npm init
Step 2: Now install Tailwind CSS via NPM.
npm install -D tailwindcss
Step 3: Create Tailwind CSS config file using the following command
npx tailwindcss init
Step 4 : Now open tailwind.config.js file and add your html file using the following line.
content: ["*"]
Step 5 : Create a “src” folder -> input.css file. Then add the following lines (Tailwind directives) inside the file.
@tailwind base;
@tailwind components;
@tailwind utilities;
Step 6 : Run the following command in VS Terminal to create output.css file with parent folder named “dist”,
npx tailwindcss -i ./src/input.css -o ./dist/output.css --watch
Note: The browser TailwindCSS preview output only works when you run “npx tailwindcss -i ./src/input.css -o ./dist/output.css –watch” command.
Step 7: Now Link your output css file in index.html file
<link href = "./dist/output.css" rel = "stylesheet" />
That's all.
Now add your Tailwind CSS tags and preview your output in local host server via VS code -> Run -> Start Debugging.
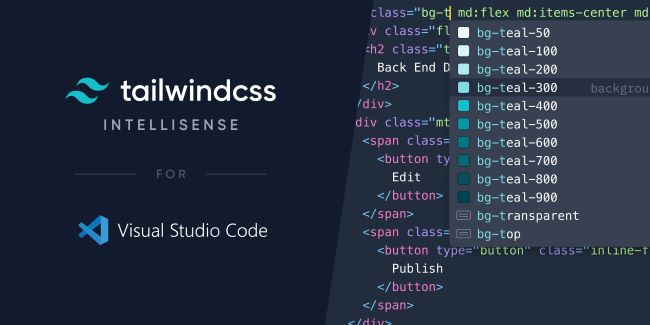
Finally install Tailwind CSS IntelliSense Extension in VS Code. To associate CSS file for tailwind extension press F1 key and choose settings.
Change file associal settings like
"files.associations": {
"*.css": "tailwindcss"
}
That's all. Now your Tailwind CSS setup full ready to go.